You may remember, four years ago, I blogged about my dyeing attempts with second year woad here. At the time, the plants had not started putting up flowering spikes (except for one plant) so I was reasonably sure I would get some blue from the leaves. Well this year, by the time I got around to dyeing again, ALL the plants had put up flowering spikes albeit they were only about 3 inches high, and the flowers hadn't opened.
All the dye books I have say it's not possible to get blue from 2nd year leaves, but I just wonder how far into the 2nd year you can go before the plant gives up the ghost.
Not one to waste resources, or opportunities to prove myself wrong (you really can't get blue from flowering woad plants, can you?) I harvested about 4 or 5 plants - i.e. pulled them up! - and took off all the original base leaves, leaving the flower spikes for the compost heap. I must admit I wasn't very optimistic at this stage.
I had about 700g of leaves, so I was fairly certain it would cope with 80g of merino :-

and 65g of mohair :-

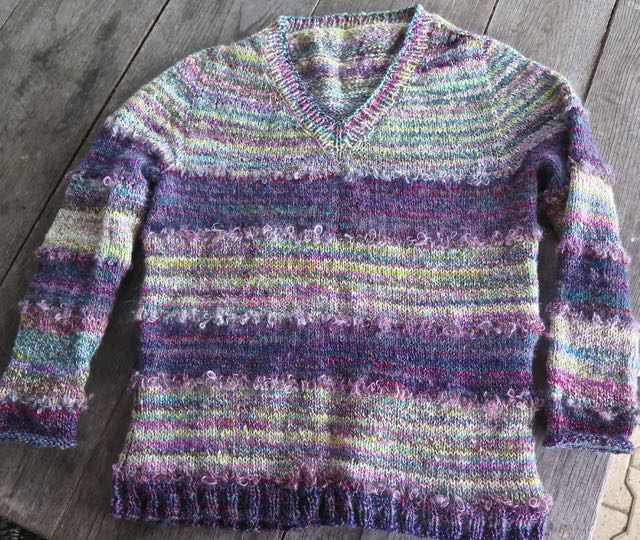
As you can see, the merino took the colour really well. Maybe a bit too well really because the mohair didn't get as much blue at all. It's possible that merino takes up the dye more quickly than mohair, so by the time the mohair was ready for a bit of blue, there wasn't much left. This will be going back into my next woad dye pot, but next time it'll go in alone.
In the meantime, this is what my woad plants look like now :-

It's a little bit difficult to see, but the flower stalks are quite tall and will probably burst into flower very soon. So, what do you think? Would I still get blue if I used these plants? I won't be able to try until next week now, but maybe I'll have a go - nothing ventured, nothing gained. And I've never been one to accept "you can't do that!" So, is it possible to dye from 2nd year, fully flowering woad plants? Watch this space!
All the dye books I have say it's not possible to get blue from 2nd year leaves, but I just wonder how far into the 2nd year you can go before the plant gives up the ghost.
Not one to waste resources, or opportunities to prove myself wrong (you really can't get blue from flowering woad plants, can you?) I harvested about 4 or 5 plants - i.e. pulled them up! - and took off all the original base leaves, leaving the flower spikes for the compost heap. I must admit I wasn't very optimistic at this stage.
I had about 700g of leaves, so I was fairly certain it would cope with 80g of merino :-

and 65g of mohair :-

As you can see, the merino took the colour really well. Maybe a bit too well really because the mohair didn't get as much blue at all. It's possible that merino takes up the dye more quickly than mohair, so by the time the mohair was ready for a bit of blue, there wasn't much left. This will be going back into my next woad dye pot, but next time it'll go in alone.
In the meantime, this is what my woad plants look like now :-

It's a little bit difficult to see, but the flower stalks are quite tall and will probably burst into flower very soon. So, what do you think? Would I still get blue if I used these plants? I won't be able to try until next week now, but maybe I'll have a go - nothing ventured, nothing gained. And I've never been one to accept "you can't do that!" So, is it possible to dye from 2nd year, fully flowering woad plants? Watch this space!